Posted January 31, 2014 Posted by Adam in Uncategorized

Posted January 31, 2014 Posted by Adam in Uncategorized
This took a long time…
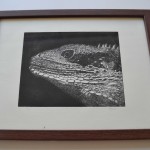
When I decided that I was going to make etchings, one of my aims was to develop some of the skills of the great 19th century natural history illustrators. When I was a child, I marvelled at Ernst Haeckel’s Kunstformen der Natur and, when I got hold of the appropriate materials, I wanted to do something of my own that might approach the weird brilliance of those images.
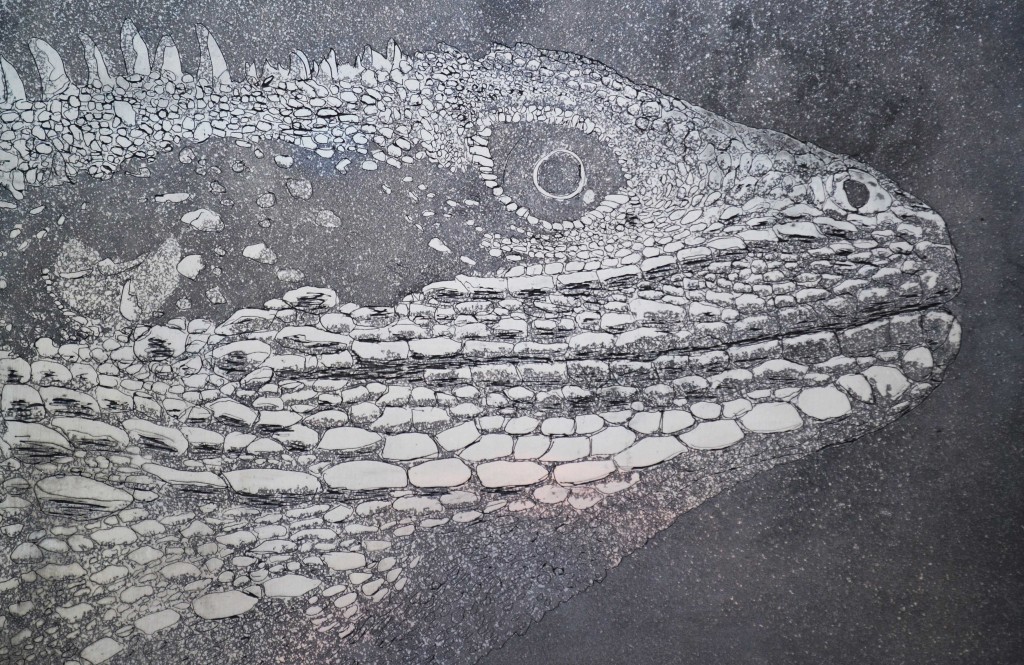
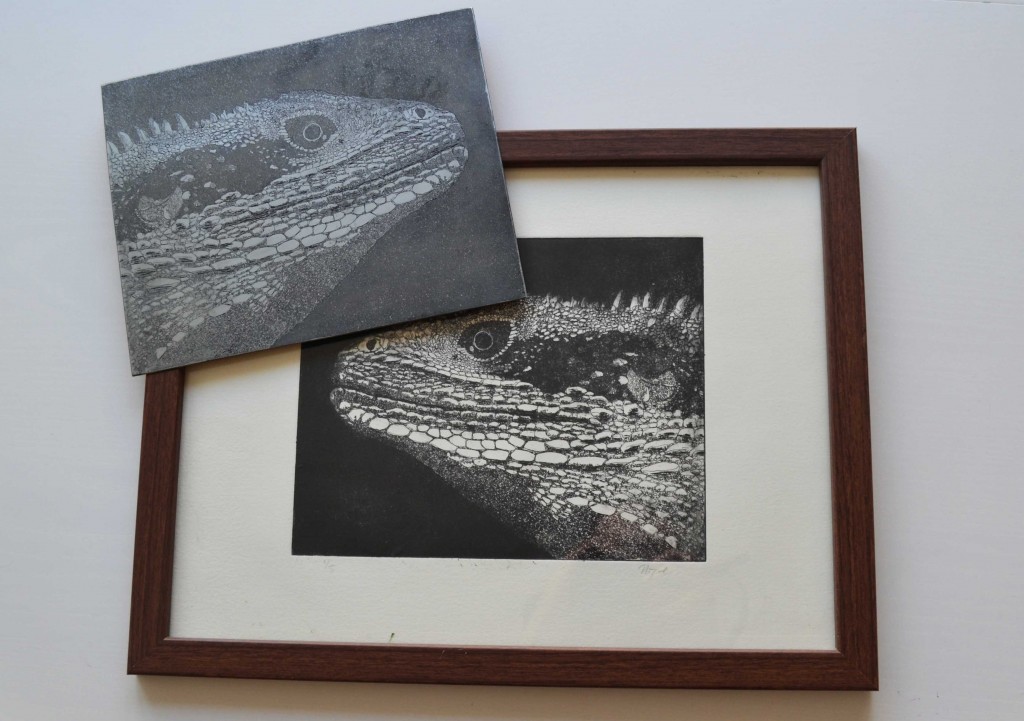
When I lived in Manly (Sydney) in 1989, I found an Eastern Water Dragon (Physignathus lesueurii) outside my house. He lived in the house for a few days until I released him into the wilds of North Head.
 Click on any of these for larger versions.
He was a classic dragon and it was he whose image I wanted to use.
I did some hard and soft ground etchings of plants from Kew Gardens until I thought I was ready to tackle my Dragon Project.
These were the stages:
1. Cover the zinc plate with wax (hard resist). Let it set.
2. Engrave the picture of the dragon into wax. This took about 40 hours. It’s quite intricate.
3. Etch in mordant solution using a swan feather to brush away bubbles. The swan feather seems to be standard equipment in etching.
4. Use a mordant-resistant paint to cover the parts of the plate that I want to be light-coloured on the final print.
5. Using bunsen burners in a chemistry lab fume cupboard, heat the plate, then sprinkle it with a hideous dust. Where it lands on the plate, it stays there. The plate is now coated with uniform dots.
6. Etch the cooled plate in mordant. The unpainted parts are now etched with a uniform pattern of tiny pits. The original etched lines are still visible.
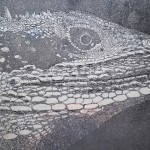 7. Soak the plate in turpentine and scrub until everything is off. Paint the parts of the plate that I want to be very light coloured in the print.
8. Repeat the fume cupboard treatment, etching and scrubbing. After 80 hours of work, I now have the finished plate.
9. Soak several sheets of printing paper, ink up the plate and try to prepare it so that there is a decent amount of ink in the lines and pits but none on the high parts or the edges.
10. Place the plate face up on the bed of the roller. Take a sheet of paper from the water bath, squeeze the paper to remove excess water and lay it on top of the plate. Place a felt blanket over the paper and run the bed through the roller. Surprisingly good arm exercise, this.
11. Remove the blanket, then very carefully take the paper from the plate.
12. Clean everything and start 9 and 10 again. Repeat dozens of times until you get a plate that you like.
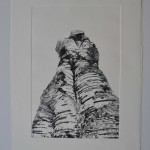
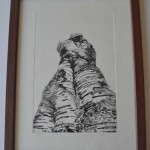
A far easier method is drypoint. You etch directly onto the plate. No shading but it’s probably closer to that 19th century effect for which I was aiming. Here’s a silver birch. My favourite print.

Posted January 31, 2014 Posted by Adam in Uncategorized

Posted January 31, 2014 Posted by Adam in Uncategorized

« Previous Entries Next Entries »
